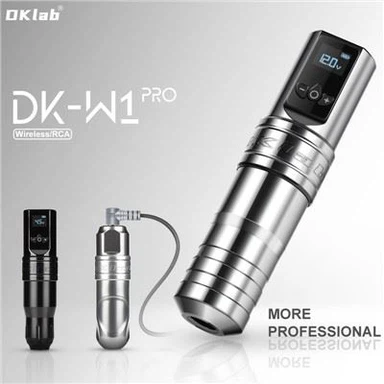
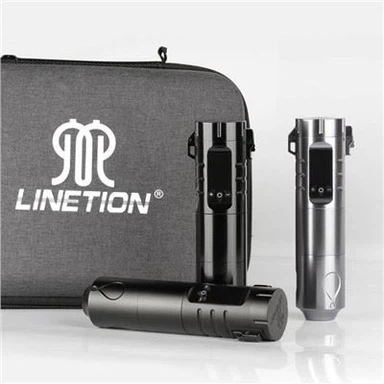
Teach you seven steps to quickly debug the tattoo machine
Jun 15, 2022
Many tattoo beginners often don't understand how to adjust a good tattoo machine when they first learn to tattoo. Today, I'll talk about the seven step method of debugging the tattoo machine. I believe as long as you master these steps, there should be no problem in debugging the tattoo machine. Well, to make a long story short, let's talk about the seven steps of debugging the tattoo machine!
Debugging method of tattoo machine 1: hold the needle tube of the tattoo machine with your left hand, press the bottom of the "main frame" with your index finger, and press the position of the "needle tube fixing button" with your thumb.
Debugging method 2 of tattoo machine: connect the AC power supply and connect the socket wiring to the tattoo machine Jack.
Debugging technique of tattoo machine 3: hold the "conditioning fixed button" with the thumb and index finger of your right hand to the "relaxed" state.
Debugging method of tattoo machine 4: hold the "pressure adjusting button" with your right thumb and index finger, adjust the "pressure adjusting button" and step on the "foot switch" with your right foot to start the tattoo machine.
Debugging technique of tattoo machine 5: when adjusting the "pressure adjusting button" with the thumb and index finger of the right hand, pay attention to that the right hand cannot be separated or loosened until the tattoo machine produces the best speed and sound. At the same time, touch the front end of the magnetic strip and the lower part of the needle bar fixing button with the thumb belly of your left hand. Whether the touch feeling of the left thumb is the maximum vibration (until you feel numb and itch) at this time, the tattoo machine is in the best working state.
Tattoo machine debugging method 6: when debugging the tattoo machine, we need to pay attention to the stroke of the tattoo machine (the stroke means the distance between the magnetic strip and the magnetic coil of the tattoo machine). The stroke must be at least 2.5mm. Because of this ability, the needle can be guaranteed to have sufficient expansion interval, so as to ensure that the needle can penetrate into the bottom layer of the epidermis when it extends, and can shrink into the needle tube when it retracts to get pigment.
Debugging method of tattoo machine 7: when the tattoo machine is in the best state, the right foot is separated from the "foot switch" - that is, cut off the power supply, the tattoo machine is in the shutdown state, adjust the "conditioning fixed button" with the right thumb and index finger to the tightest state, and lock the "pressure adjusting button".
After completing the above seven steps, restart the tattoo machine and try it! Best working condition! That is to complete the tattoo machine debugging. When the professional voltage regulator is used in the tattoo machine, the voltage used for cutting is 9-12v, and 12-14v is used for coloring or fogging.